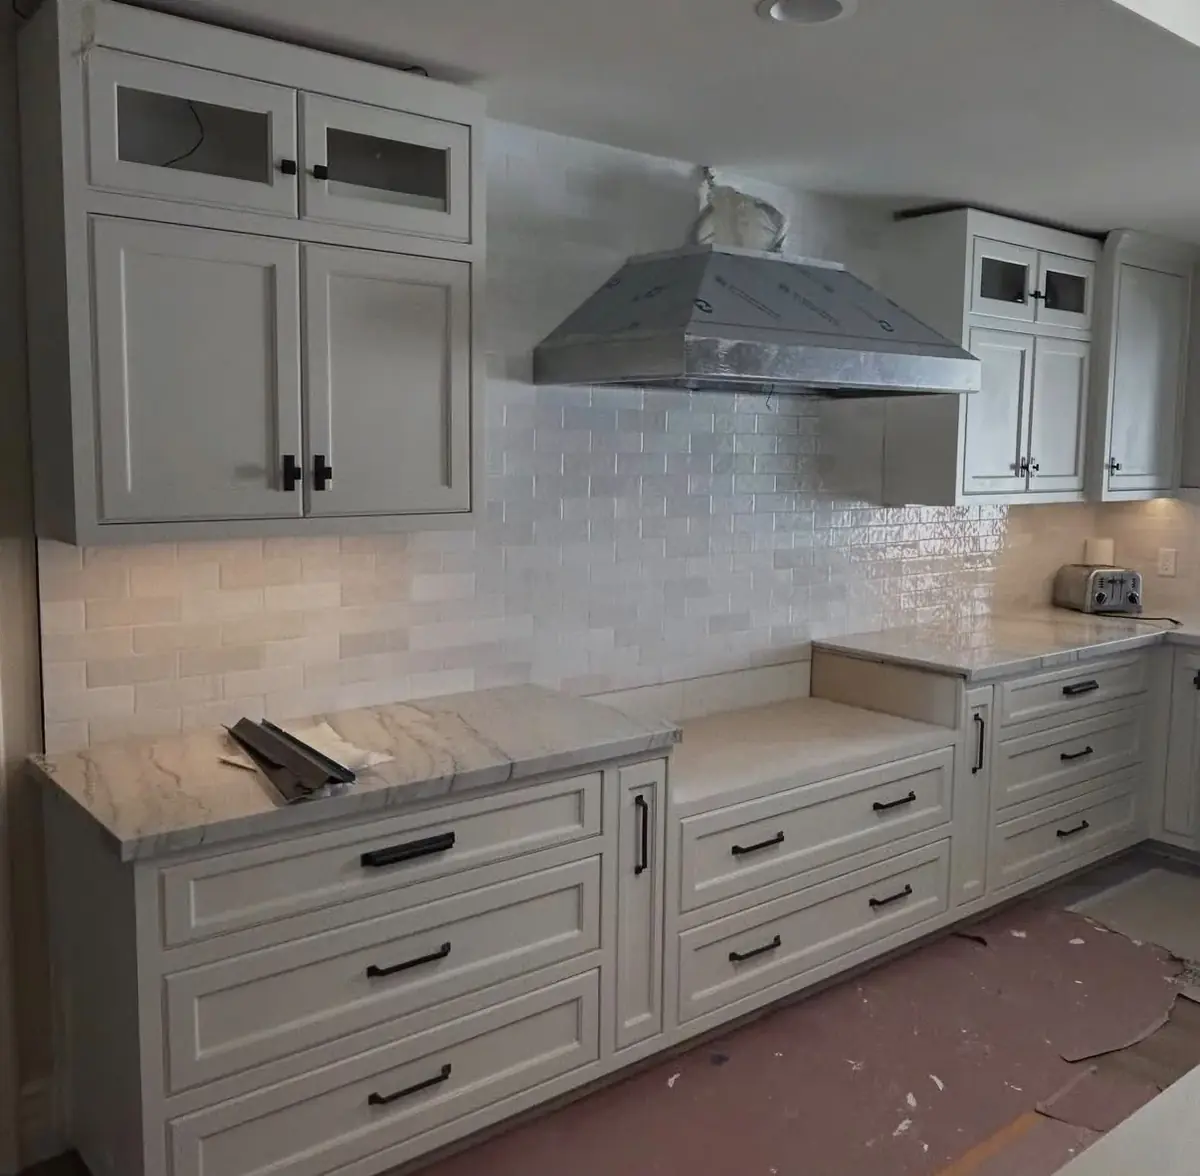
Working in a home that is lived in
Most of our work happens in houses where people are cooking dinner, working from the next room and walking through with the dog. That changes how the job is done. Floors get covered from the door to the work area, furniture is moved and covered, and when a ceiling is being cut for pot lights the dust is caught at the source rather than cleaned up afterwards.
Only the circuits being worked on are turned off, and we say which ones before the breaker goes down. At the end of each day the tools are out of the way, the openings are safe and you know what happens next. When the job is finished, the plates are on, the panel directory is updated and the room is cleaner than we found it.
What that looks like on the day
- Drop sheets and floor protection down before the first tool comes in.
- Shoes off or covered, every visit.
- Dust extraction on the saw when cutting drywall or tile.
- A clear word on which circuits will be off, and for roughly how long.
- Nothing left open or exposed overnight.
Why the photo above is unfinished
It shows a kitchen with the floor protection still down and the range hood still in its film. We would rather show a room at that stage than imply every photo is a hand-over picture. Shots of open boxes and rough-in on this site are labelled the same way.
Planned before it is cut
The difference between lighting that looks right and lighting that looks like it was installed is almost entirely in the layout. Pot lights that follow the island and the counters, a pendant centred on the table rather than the room, under-cabinet strips toward the front edge of the uppers, and switches where your hand goes when you walk in.
So the layout gets marked on the ceiling or wall with you standing in the room, and only then does the cutting start. The same goes for switch and outlet locations in a renovation: heights, spacing from the counter and which side of a doorway are agreed with you and the other trades before the drywall goes on.
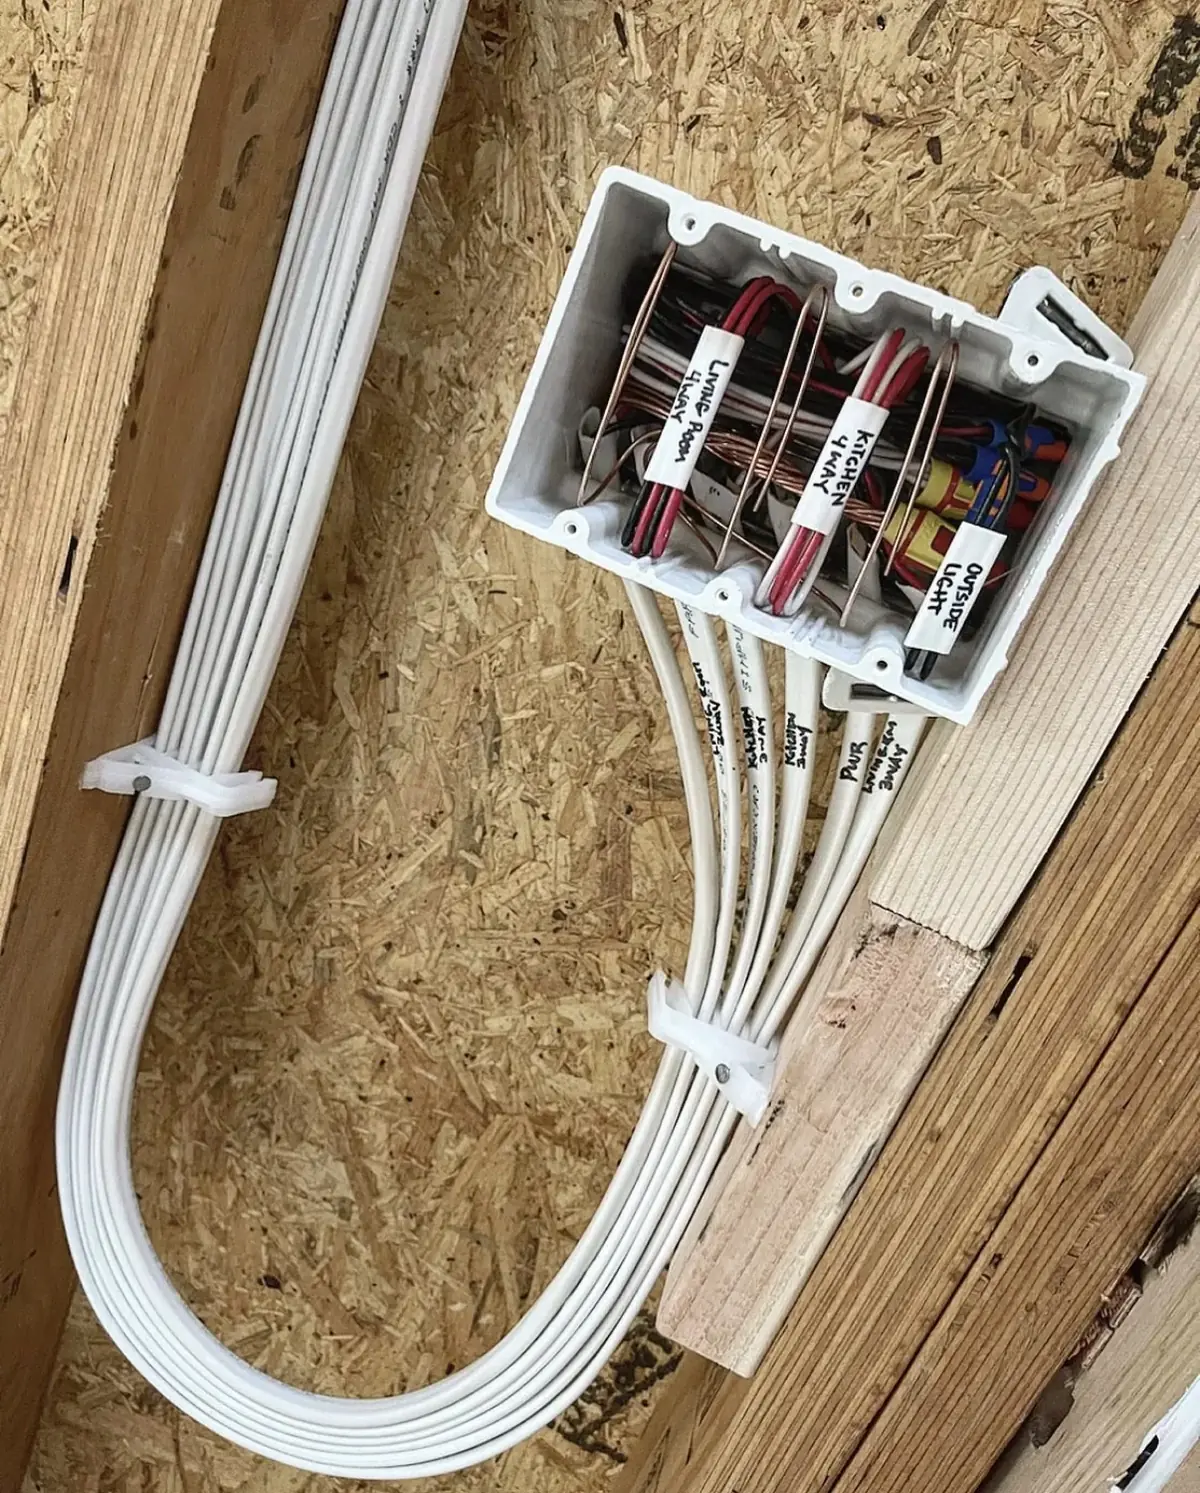
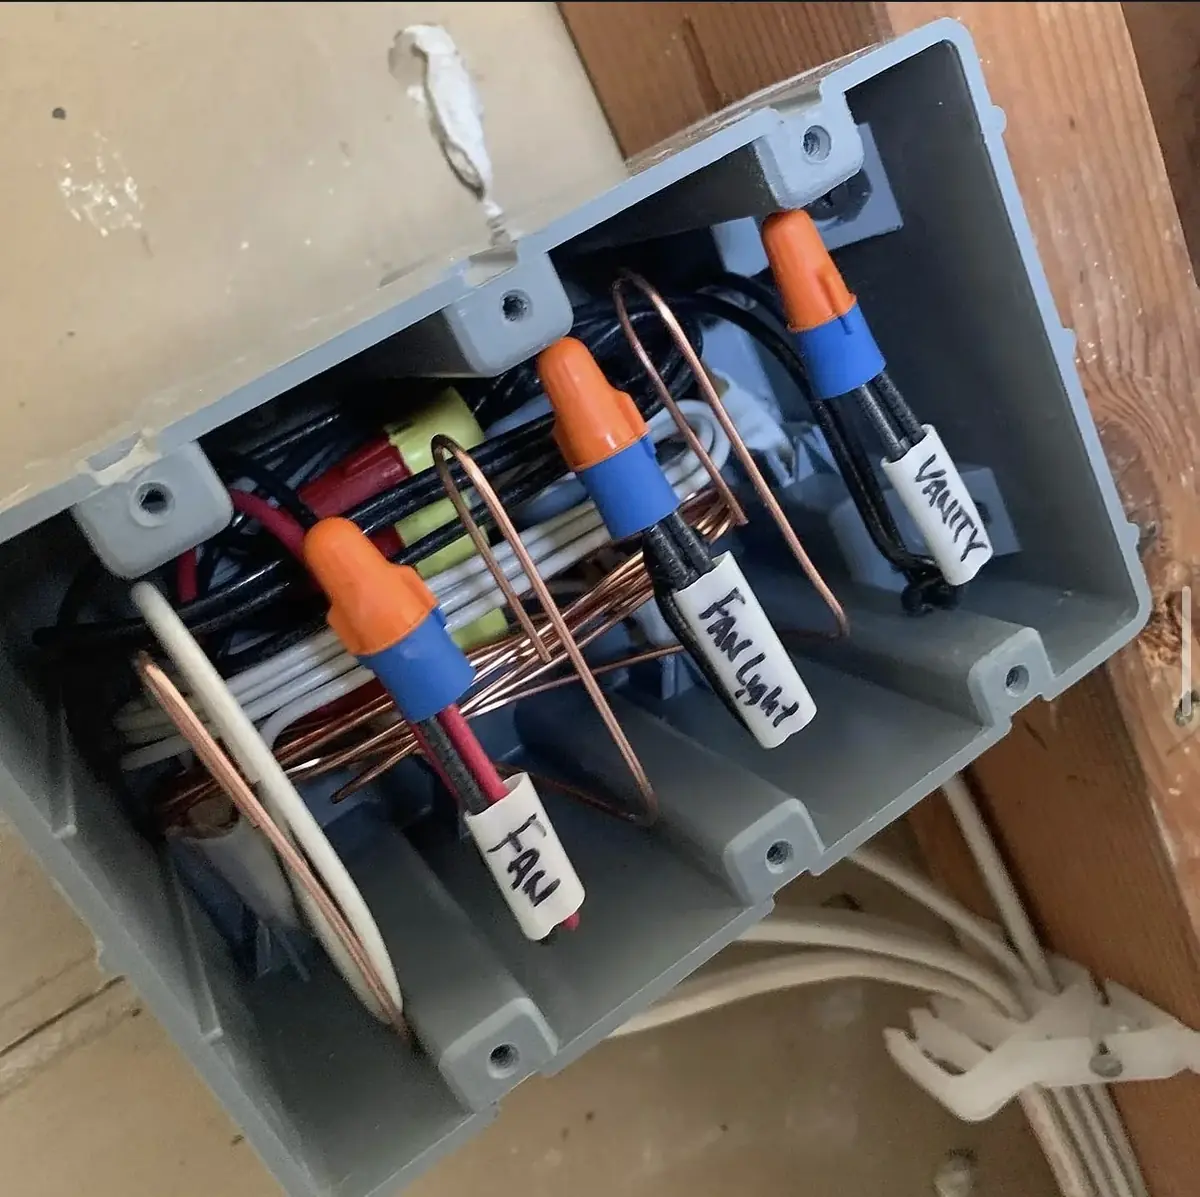
Finishing standards
These are the things we check on every job, and the things you can check too.
- Plates sit flat and level, aligned with tile joints and at the same height as their neighbours.
- Devices match the room. Colour, style and plate finish are chosen with you, not mixed.
- Every cable is labelled at the box and at the panel, so the breaker for each room is written down, not guessed.
- Boxes are not overfilled. The Ontario Electrical Safety Code limits how many conductors a box may hold, and a cramped box is where connections fail.
- Dimmers are matched to the lamps. The LED fixtures and the dimmer are chosen together so the low end is smooth and silent.
- Pot light cut-outs are clean and the trims sit flush, with no gap and no paint damage around them.
- Connections are tight and terminated on the screws, not pushed into the back of the device.
Code, permits and inspection
Work that adds circuits, outlets or lighting generally needs a notification filed with the Electrical Safety Authority (ESA), which then inspects it. We file it as part of the job and arrange the inspection, and the work itself is done to the Ontario Electrical Safety Code (OESC). Markham's electricity is supplied by Alectra Utilities; where a job touches the service to the house, the scheduling with them is handled for you.
Electrical contracting in Ontario requires an ECRA/ESA licence, and contractors must show their licence number on their advertising. It is worth asking any contractor for theirs before work starts. Ours appears in the footer of this site once the launch details are complete.
Not sure whether your job needs a permit?
Ask us when you get in touch and describe the work. Replacing a device like-for-like usually does not; adding anything new usually does. Either way the answer is settled before quoting, not after.
Planning some work?
Describe the rooms involved and what you would like changed. We reply to confirm scope and timing before any visit.